May 8, 2026

Mother and Daughter Tea Party

I have been blessed with two beautiful daughters. I am patiently waiting for the day when I can take them to a real tea room where we can sip on tea and enjoy fancy pastries. While waiting for this day to come I decided that we should spend an afternoon sipping tea, eating yummy deserts, and enjoy each other's company.
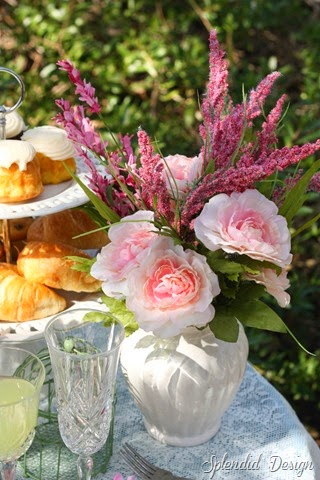
flowers

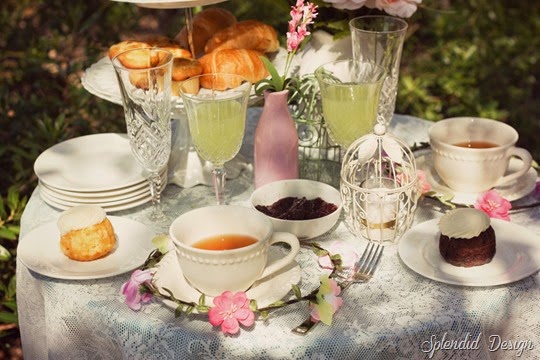
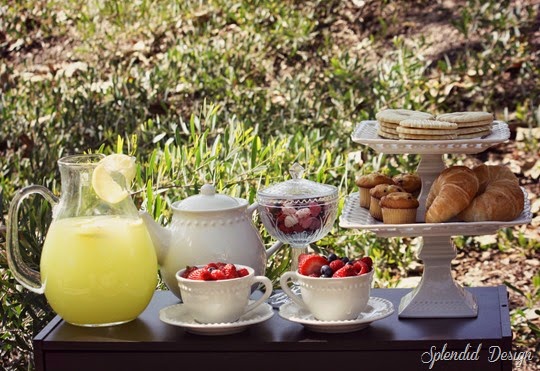
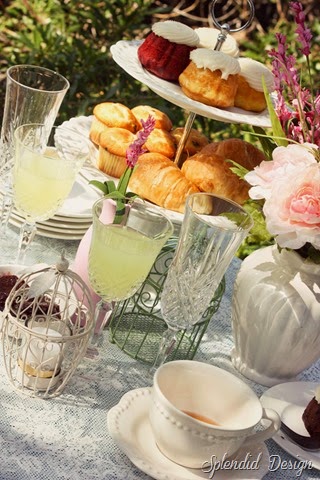
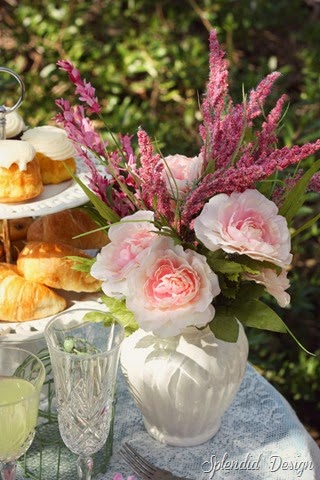
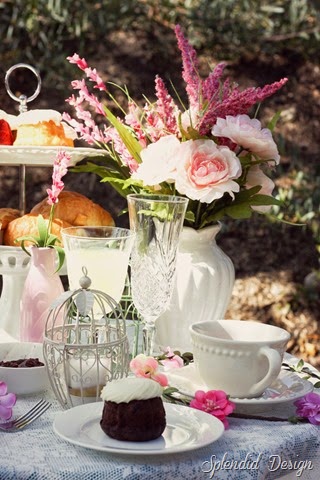
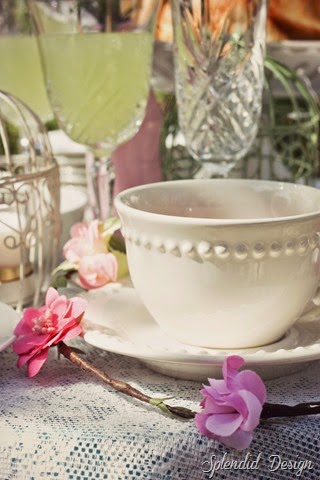
As much as I enjoy over the top parties, sometimes having something simple and on a budget is the perfect fit. On a beautiful sunny early afternoon we, with the help of my husband, walked over to the nature spot right next to our home and set up for our tea party. The table cloth is a sheer drapery panel. We used cake stands that I have collected over the years and a tea set that I had been itching to use. The rest of the decor is items from around the house. One things I was taught growing up is to never be afraid to use your fine china. Believe it or not those crystal glasses are part of our everyday stemware.
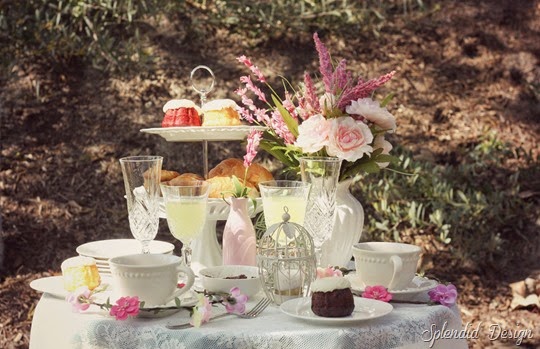
tea party

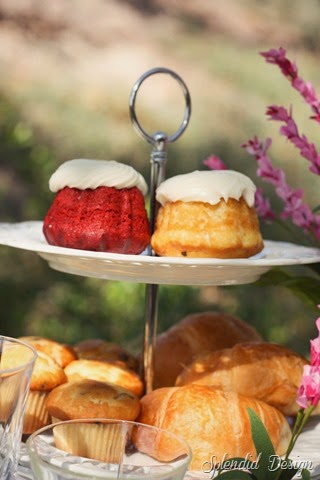
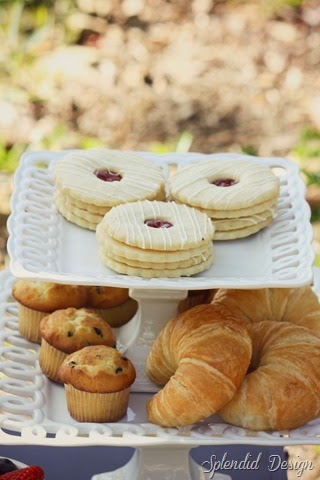
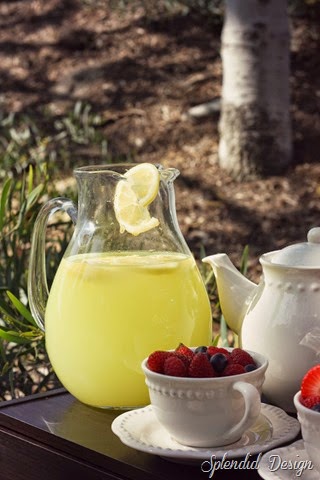
When it comes to food, with us, the simpler the better. The table spread included different flavors mini bunt cakes, croissants along with raspberry jam, chocolate chip muffins, raspberry white chocolate cookies, and of course fresh fruit. For drinks we had tea, lemonade, and water. When it comes to food for a party I always go for what's going to be most likely to be eaten rather than what sounds fancier. I have starved at too many weddings to let that happen.
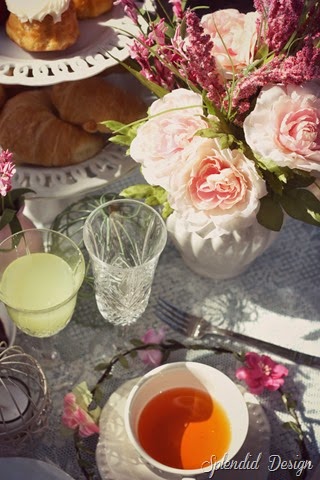
tea  tea2

tea5

 tea6

tea3 tea8  

tea9 tea10

tea7 tea11

tea12

I loved seeing my little girl's face lit it every time she sipped her tea or ate one of the mini bunt cakes or trying to act proper. We had a fun filled afternoon and cannot wait to do it again!

Signature

May 6, 2026

Painted Mason Jars


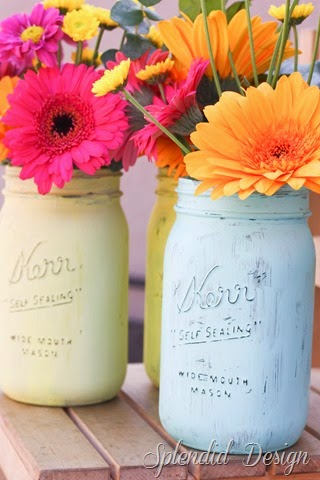
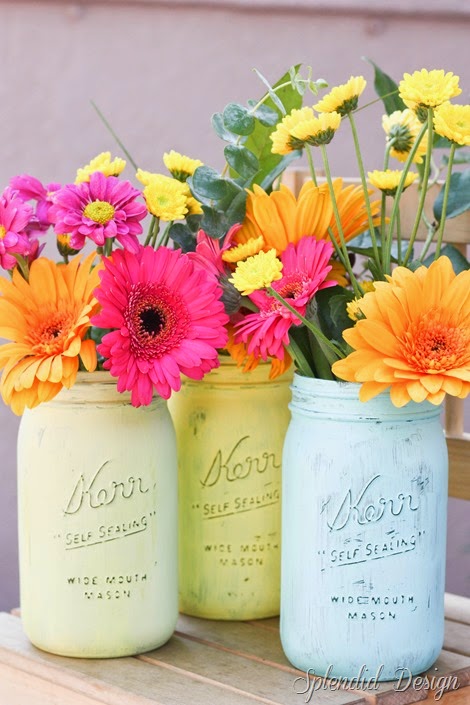
painted mason jar


I love mason jars! They are cute and can be used for anything. You might remember my post about mason jars and how they can be used for anything. This week is teacher appreciation week and I am yet to put something together so I am sharing with you what I gave the teacher’s last year when she was in her first year of preschool. Painted mason jars!

Of course I realized last minute that it was teacher appreciation week (the baby was only two weeks old at the time, so to be quite honest half of the time I didn’t even knew what day/time it was). I really loved Madison’s teachers that I wanted to give them something made from me and hopefully to keep. Nothing like procrastination and this was me at 4am ….painting mason jars. Good thing acrylic paint dries fast.


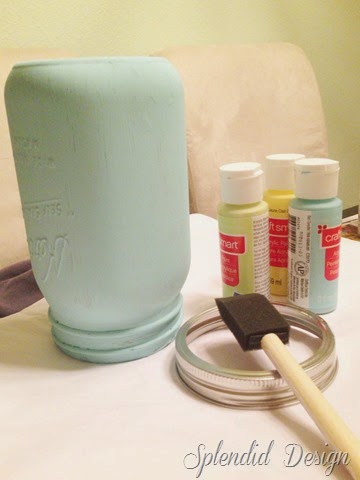
painted mason jars prep

There are many tutorials out in the blogosphere but it is very easy.

1. Clean your mason jars really well. Make sure that they are dry.

2. Paint the outside of the jar with paint of your choice. You can use spray paint if you would like. Let it dry

3. Once the paint has dried lightly sand the outside of the jar, highlighting some spot. This gives the jar the shabby chic look. You can’t go wrong here, just sand to what look you prefer the jar to have. If you have used spray paint I do not think you can sand. I like the shabby look so I just stick to acrylic paint or chalk paint.

9. Seal the paint with clear coat! You are done!

painted mason jars project

Signature

April 30, 2026

Birthday muffins!

My youngest daughter and I have our birthdays a week apart. She turned one this year! I still can’t believe it. It feels just like yesterday I gave birth to this little girl and brought her home to our crazy house.

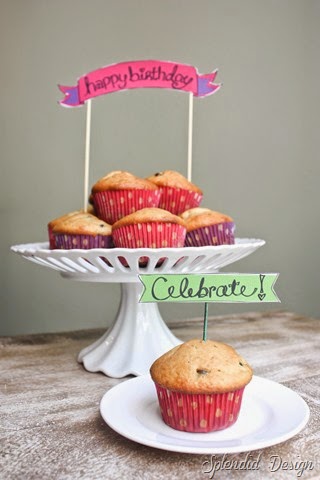
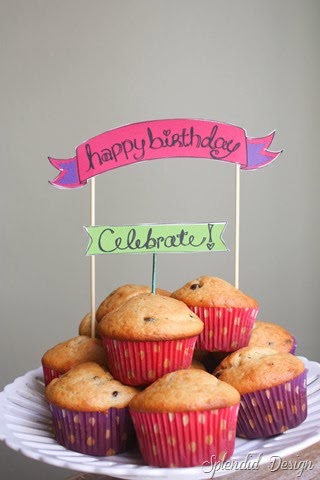
I always strive to make my children’s birthdays special starting with breakfast. Since she is still very little I decided that presenting her morning chocolate chip muffin with a “Happy Birthday” banner would be the most appropriate way!

Chocolate Chip Muffin with free happy birthday printable

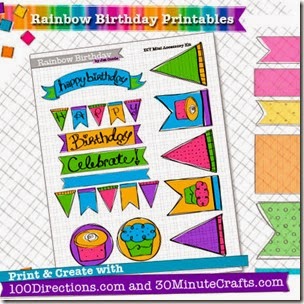
I love this fun and whimsy printable form 100 Directions. It has bright colors that I love! This is just a small part of the printable that is included! The best part, this took me less than 5 minutes to complete! Print, cut, paste, enjoy!

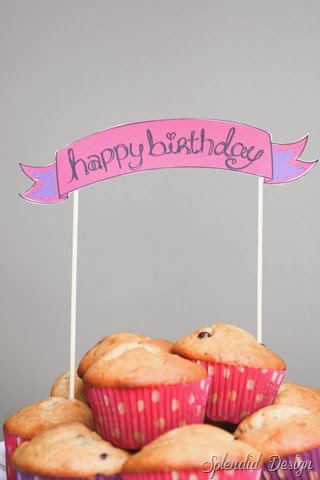
Free "Happy Birthday" banner

Happy Birthday muffins

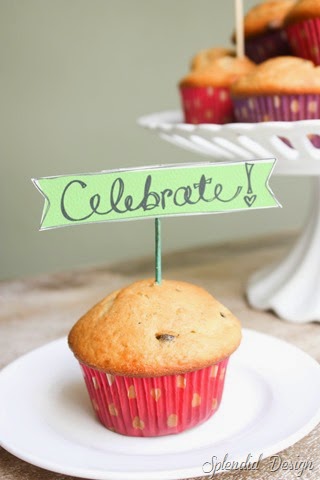
birthday muffins with celebrate printable


Download the free printable at 100 Directions.

rainbow-birthday-thumb-jgoode

Signature

April 23, 2026

Sawyer Leigh Boutique

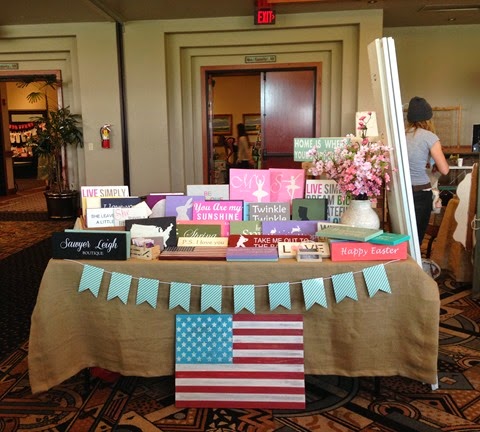
When someone given you lemons, you have the choice to make lemonade! That’s what I did last holiday season!  My husband was laid off back in October due to a slowdown in his field. I had always wanted a creative outlet but somehow there was never a good time (or most likely just me being too scared to take the plunge) until now! Last holiday season while brainstorming ideas we decided that after talking about it for the past three years I should finally open an Etsy shop. I have been making paper banners for the past three years but somehow I was drawn to painted wood signs. I loved the paint on the wood! The quietness, making the same thing but never coming out the same!

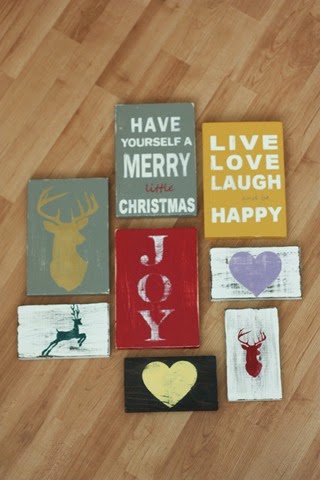
Believe it or not I actually attended a holiday boutique without even having an Esty shop open. Once my oldest daughter, gave the shop a name, there was no going back. Here are some of the wood signs that I sold during the Christmas holiday of 2013.

Sawyer Leigh Boutique Winter Signs

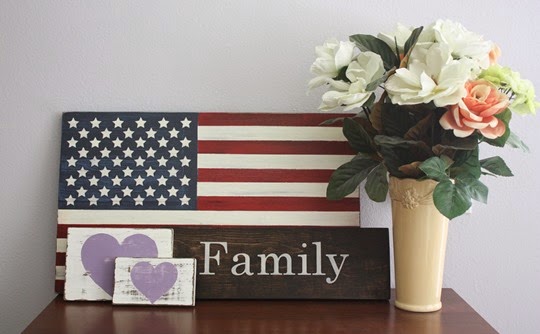
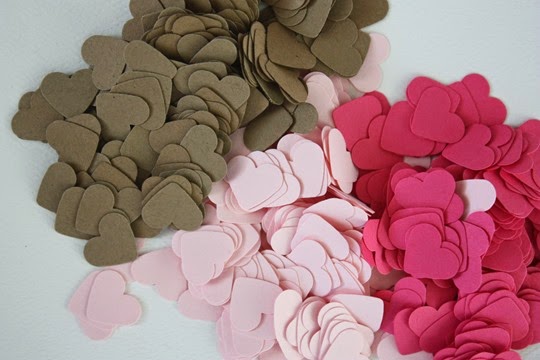
After the boutique I dove into creating signs! I only created signs that I know I would love to have in my house! I still do this to this day! And of course confetti! Who doesn’t love confetti!

Sawyer Leigh Boutique

Sawyer Leigh Boutique 1

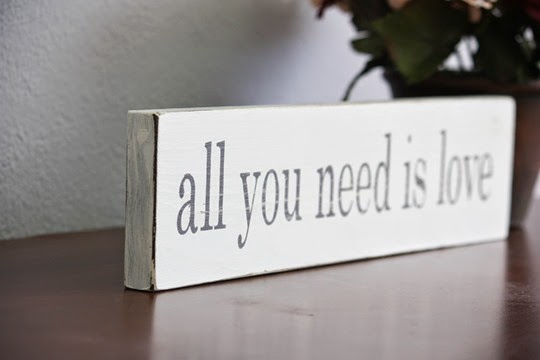
All you need is love - Sawyer Leigh Boutique

Then in Spring 2014 I participated in my first big boutique, Penelope Lane Boutique in Seal Beach! I wouldn't lie if I say that I wasn’t nervous but I had a blast! I was brainstorming ideas like crazy and adding new stuff until the very last minute!

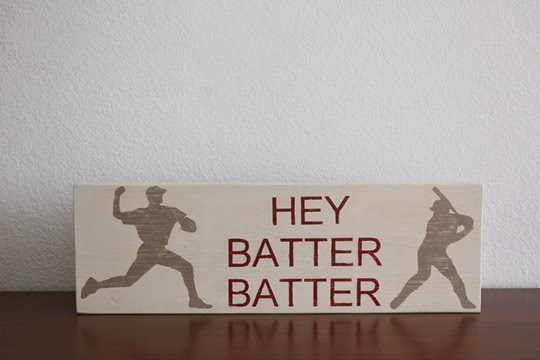
Hey batter batter wood sign

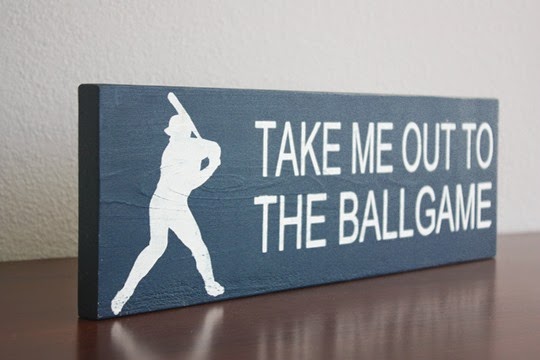
take me out to the ballgame

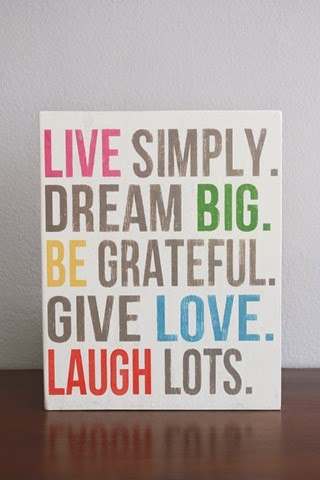
Live Simply, Dream Big wood sign

photo

image-1

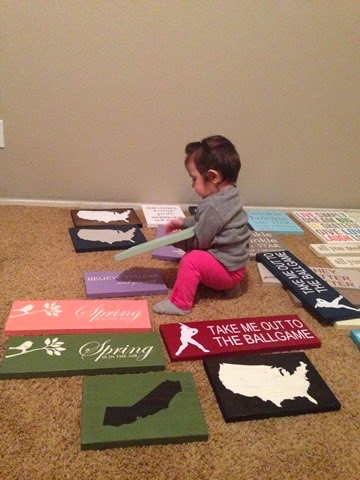
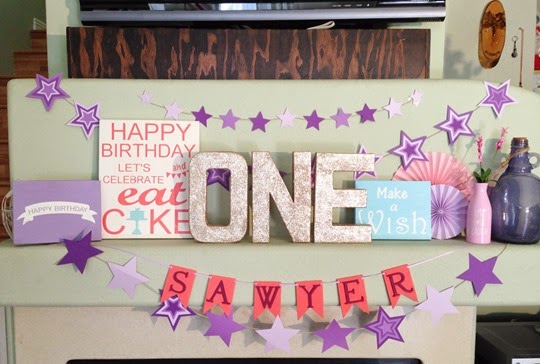
What I loved the most is creating this for my daughter’s first birthday!

photo-1

I would love if you can check out my shop here!

Signature

April 15, 2026

A monogrammed plaque

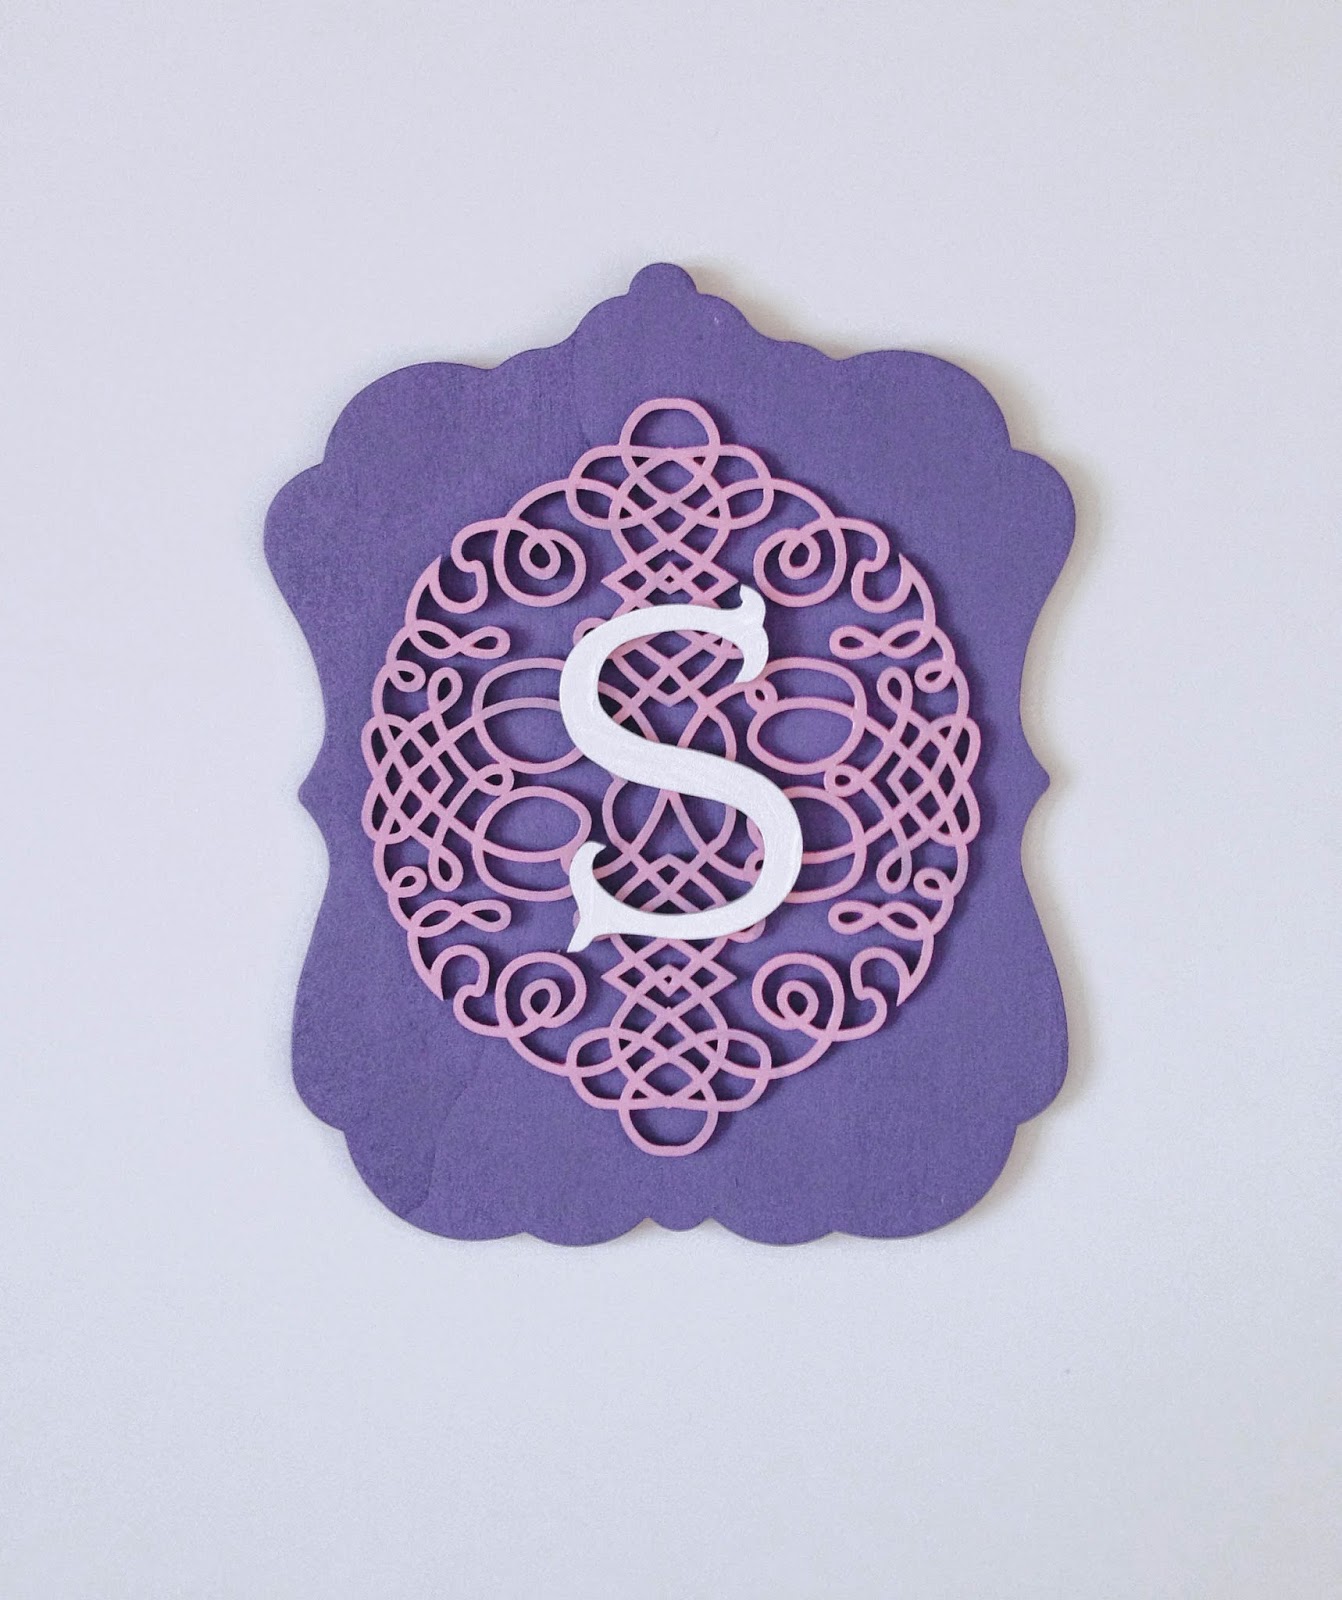
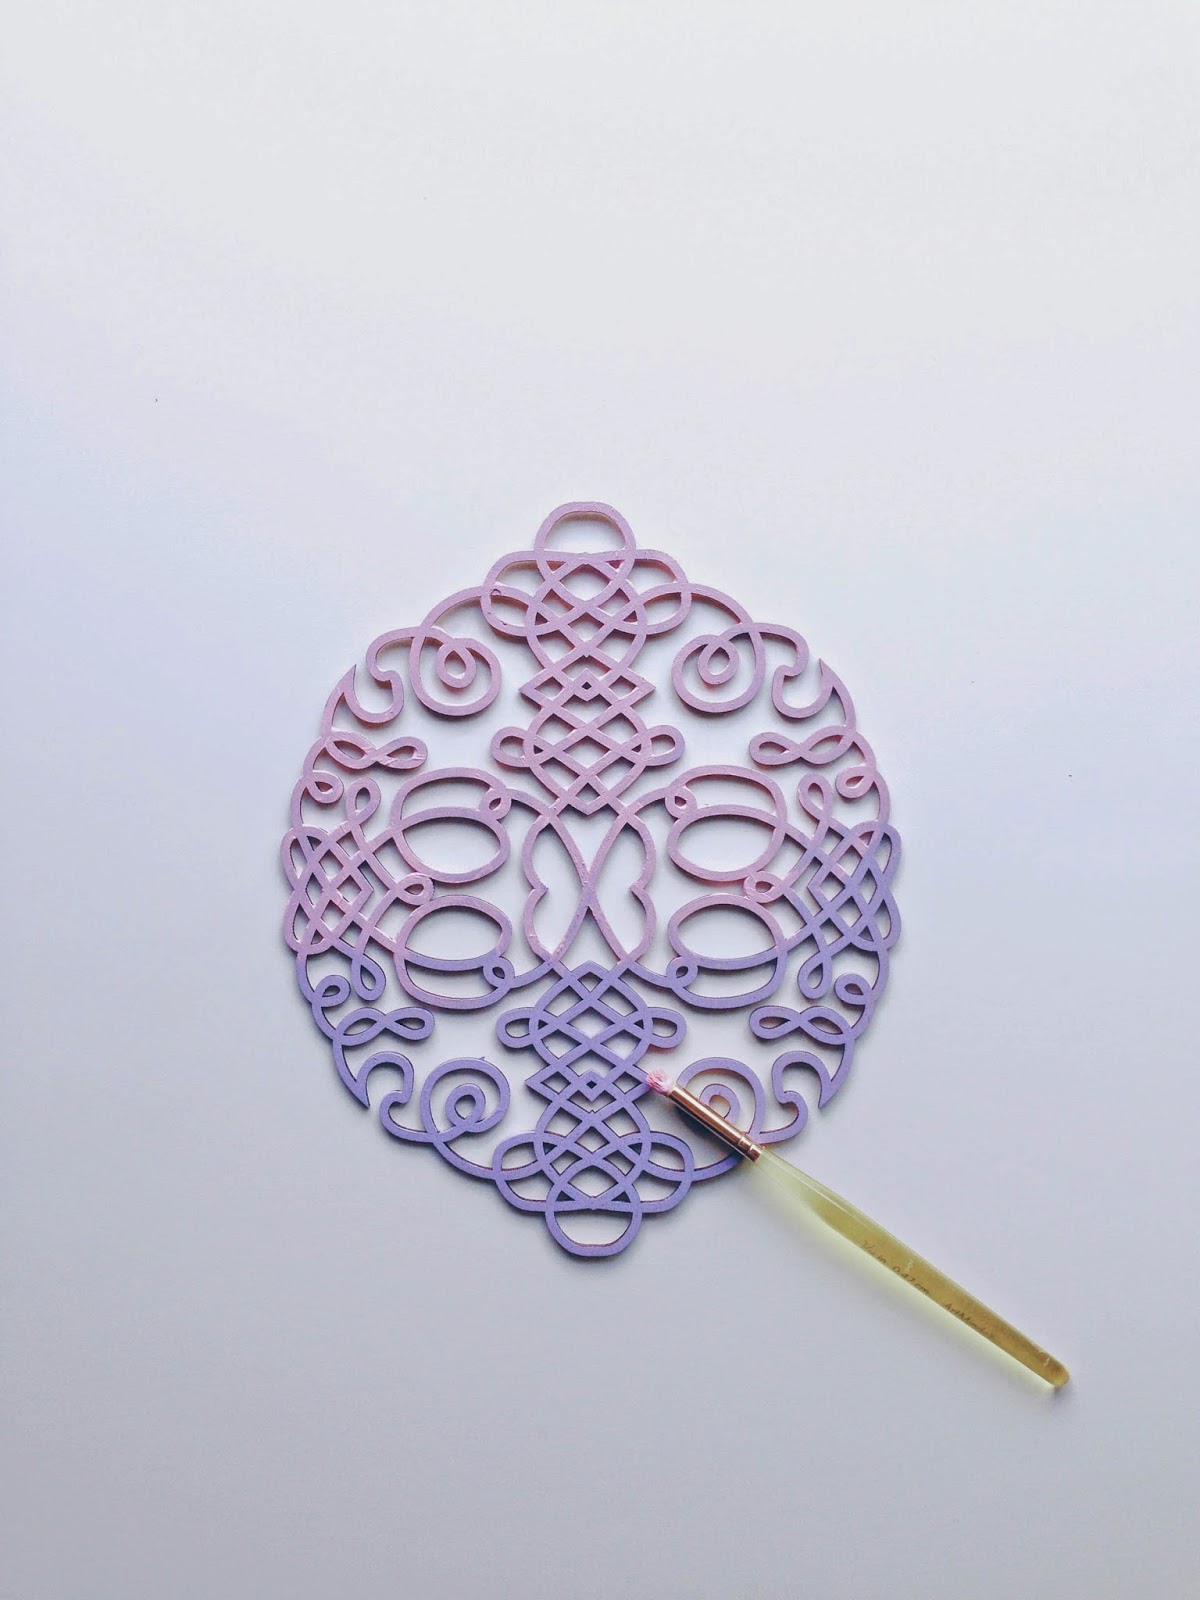
Today I will share with you a craft I created for Abbey from The Cards We Drew a couple of weeks ago. It is an easy tutorial including the awesome laser cut wood plaques from Michaels.

I have been working on re-doing my daughters' bedroom walls and thought that this would be the perfect little personal touch for the room they share.  The best part it's less than an hour project. Perfect for this mom of two.


Supplies: 
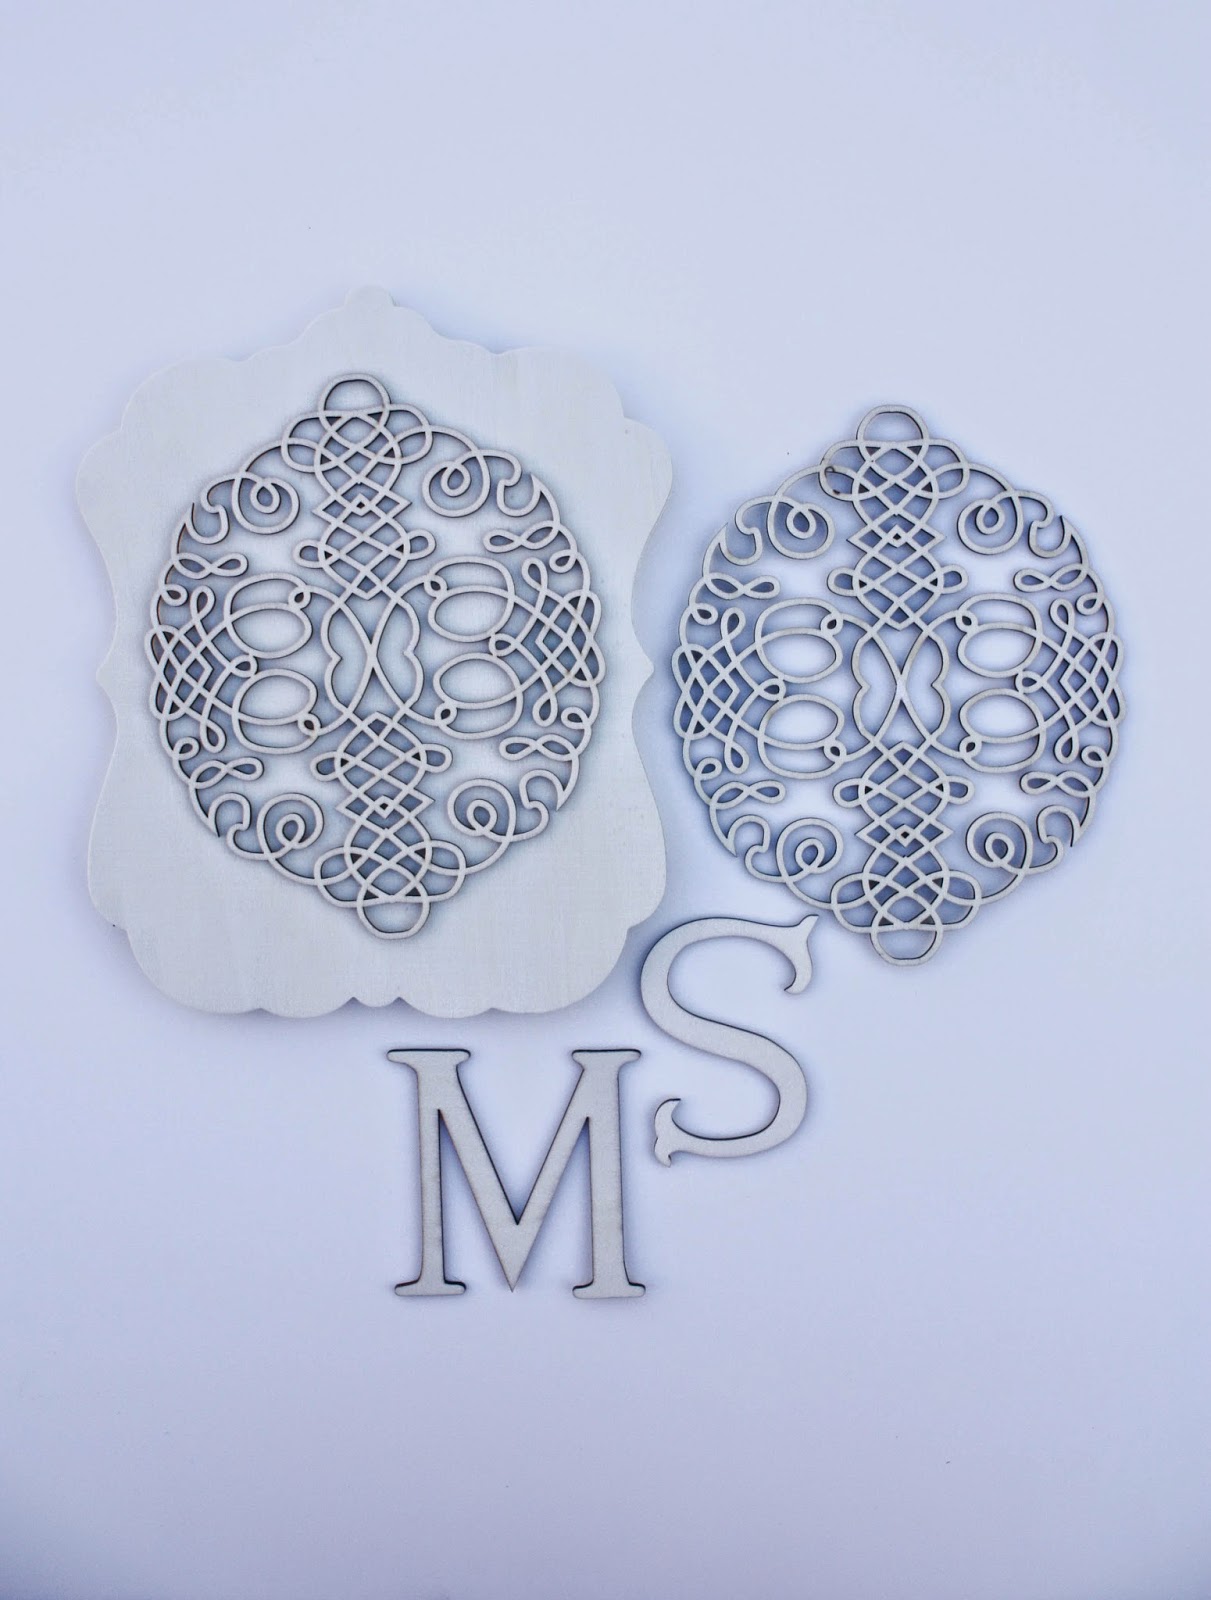
Wood plaques   (I got mine from Michaels)
Paint of your choice (I picked plum, pink, and white)
Glue
3M Command picture stickies (the best for hanging frames/ decorations without any damage to the walls)
           
1) Gather supplies
2) Paint both wood plaques and letter in the color of your choice. Do not be afraid. I didn't like the initial color for the ornate plaque so I just painted over it.
3) Leave them out to dry. If you are using acrylic paint, it should be dry in less than 30 min
4) Glue them together! I used Elmers Wood Glue and a fine brush to apply the glue.
5) Done! Now it's ready to paint!


Signature